목차
107. Demo: Encrypting Secret Data at Rest
110.Practice Test - Multi Container PODs
112. Multi-container PODs Design Patterns
114. Practice Test - Init Containers
116. Self Healing Applications
107. Demo: Encrypting Secret Data at Rest
Encrypting Secret Data at Rest | Kubernetes
Encrypting Secret Data at Rest
This page shows how to enable and configure encryption of secret data at rest. Before you begin You need to have a Kubernetes cluster, and the kubectl command-line tool must be configured to communicate with your cluster. It is recommended to run this tuto
kubernetes.io
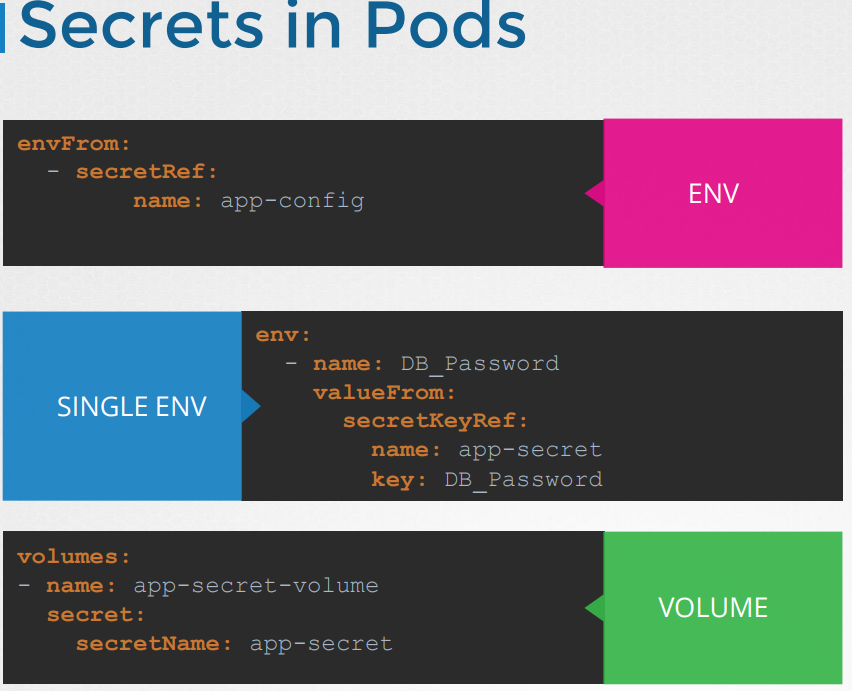
secret 에서는 base64 가 기본적인 인코딩 규칙
etcd server 에 데이터가 어떻게 저장되는가?
secret을 만든 후 etcd는 어떤식으로 정보를 가지고 있을까 ?
etcdctl 명령어를 쓸려면
apt-get install etcd-client설치한다.
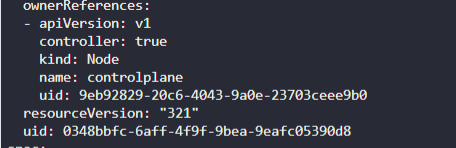
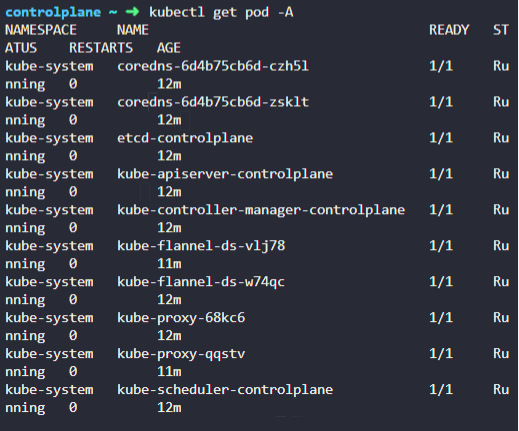
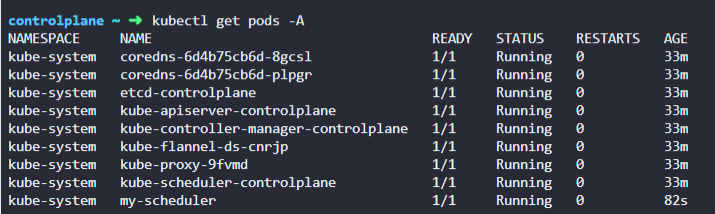
etcd server도 pod 이다.
kubectl get pods -n kube-system으로 pod 확인
ETCDCTL_API=3 etcdctl \
   --cacert=/etc/kubernetes/pki/etcd/ca.crt   \
   --cert=/etc/kubernetes/pki/etcd/server.crt \
   --key=/etc/kubernetes/pki/etcd/server.key  \
   get /registry/secrets/default/secret1 | hexdump -C
secret1 은 secret 이름 쓰면된다.
해당 명령어를 쓰면 secret 안의 내용을 다 볼 수 있다. ( hexdump 옵션없이 하면)
실제로는 hexdump 16진법으로 etcd server에 저장된다.
자세히 보면 여전히 secret 내용을 볼 수 있다.
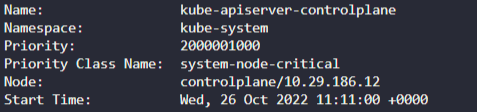
ps -aux | grep kube-api | grep "encryption-provider-config"encryption-provider-config 가 있는지 확인한다.
ls /etc/kubernetes/manifests해당 경로에 kube-apiserver.yaml 이 있는지 확인
yaml 파일안에 encryption option 이 있는 지 확인
apiVersion: apiserver.config.k8s.io/v1
kind: EncryptionConfiguration
resources:
  - resources:
      - secrets
    providers:
      - identity: {}
      - aesgcm:
          keys:
            - name: key1
              secret: c2VjcmV0IGlzIHNlY3VyZQ==
            - name: key2
              secret: dGhpcyBpcyBwYXNzd29yZA==
      - aescbc:
          keys:
            - name: key1
              secret: c2VjcmV0IGlzIHNlY3VyZQ==
            - name: key2
              secret: dGhpcyBpcyBwYXNzd29yZA==
      - secretbox:
          keys:
            - name: key1
              secret: YWJjZGVmZ2hpamtsbW5vcHFyc3R1dnd4eXoxMjM0NTY=
Encryption config 파일을 만든다.
resource 가 암호화할 대상
provider 엔 어떤 암호화 방식을 쓸 것인지 알려줌

identity 는 암호화 x
keys는 암호화에 필요한 랜덤 인자 ?
providers 에 첫번째에 있는것을 선택한다
Create new secret
1.Generate a 32-byte random key and base64 encode it. If you're on Linux or macOS, run the following command:
head -c 32 /dev/urandom | base64랜덤 키값 얻기 (sdfasdf sdf 키값이 나온다.)
2. Place that value in the secret field of the EncryptionConfiguration struct.
apiVersion: apiserver.config.k8s.io/v1
kind: EncryptionConfiguration
resources:
  - resources:
      - secrets
    providers:
      - aescbc:
          keys:
            - name: key1
              secret: <BASE 64 ENCODED SECRET>
      - identity: {}
키값을 secret 부분에 기입한다.
3. Set the --encryption-provider-config flag on the kube-apiserver to point to the location of the config file.
You will need to mount the new encryption config file to the kube-apiserver static pod. Here is an example on how to do that:
- Save the new encryption config file to /etc/kubernetes/enc/enc.yaml on the control-plane node.
/etc/kubernetes/enc/ 로컬 디렉토리 생성후 enc.yaml 파일 넣기
2. Edit the manifest for the kube-apiserver static pod: /etc/kubernetes/manifests/kube-apiserver.yaml similarly to this:
/etc/kubernetes/manifests/kube-apiserver.yaml 파일 수정
apiVersion: v1
kind: Pod
metadata:
  annotations:
    kubeadm.kubernetes.io/kube-apiserver.advertise-address.endpoint: 10.10.30.4:6443
  creationTimestamp: null
  labels:
    component: kube-apiserver
    tier: control-plane
  name: kube-apiserver
  namespace: kube-system
spec:
  containers:
  - command:
    - kube-apiserver
    ...
    - --encryption-provider-config=/etc/kubernetes/enc/enc.yaml  # <-- 이거 추가
    volumeMounts:
    ...
    - name: enc                           # <-- add this line
      mountPath: /etc/kubernetes/enc      # <-- add this line
      readonly: true                      # <-- add this line
    ...
  volumes:
  ...
  - name: enc                             # <-- add this line
    hostPath:                             # <-- add this line
      path: /etc/kubernetes/enc           # <-- add this line
      type: DirectoryOrCreate             # <-- add this line
  ...
4 . Restart your API server.
이제 secret 을 생성하고
ETCDCTL_API=3 etcdctl \
   --cacert=/etc/kubernetes/pki/etcd/ca.crt   \
   --cert=/etc/kubernetes/pki/etcd/server.crt \
   --key=/etc/kubernetes/pki/etcd/server.key  \
   get /registry/secrets/default/secret1 | hexdump -C
etcdctl 명령어로 확인하면
00000000  2f 72 65 67 69 73 74 72  79 2f 73 65 63 72 65 74  |/registry/secret|
00000010  73 2f 64 65 66 61 75 6c  74 2f 73 65 63 72 65 74  |s/default/secret|
00000020  31 0a 6b 38 73 3a 65 6e  63 3a 61 65 73 63 62 63  |1.k8s:enc:aescbc|
00000030  3a 76 31 3a 6b 65 79 31  3a c7 6c e7 d3 09 bc 06  |:v1:key1:.l.....|
00000040  25 51 91 e4 e0 6c e5 b1  4d 7a 8b 3d b9 c2 7c 6e  |%Q...l..Mz.=..|n|
00000050  b4 79 df 05 28 ae 0d 8e  5f 35 13 2c c0 18 99 3e  |.y..(..._5.,...>|
[...]
00000110  23 3a 0d fc 28 ca 48 2d  6b 2d 46 cc 72 0b 70 4c  |#:..(.H-k-F.r.pL|
00000120  a5 fc 35 43 12 4e 60 ef  bf 6f fe cf df 0b ad 1f  |..5C.N`..o......|
00000130  82 c4 88 53 02 da 3e 66  ff 0a                    |...S..>f..|
0000013a
etcd 에서도 완벽히 암호화되었다.
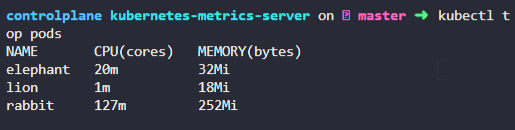
108. Scale Applications
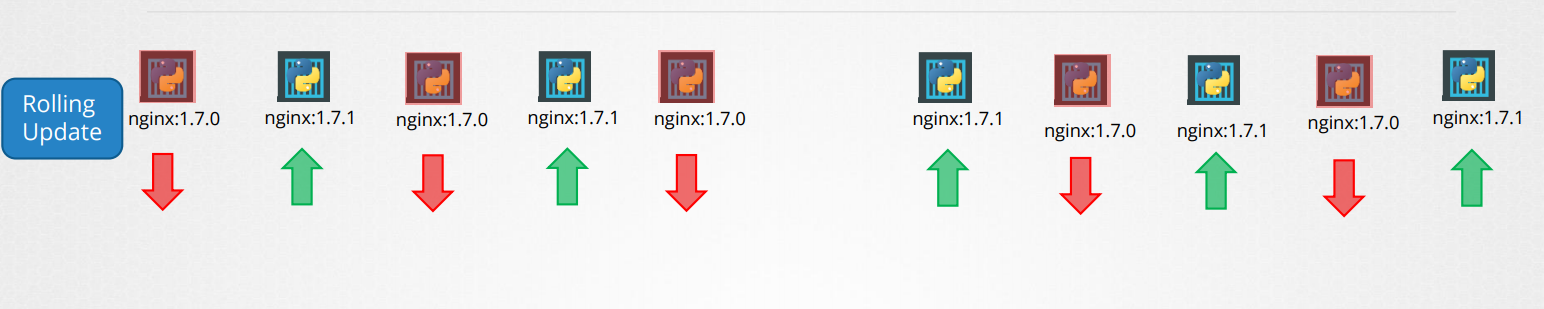
We have already discussed about scaling applications in the Deployments and Rolling updates and Rollback sections.
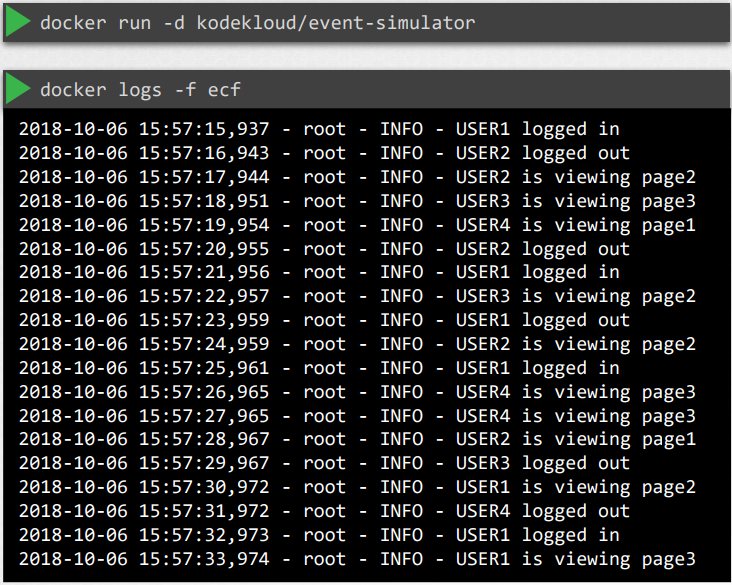
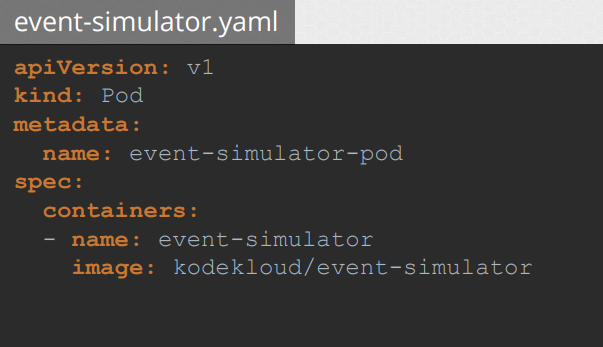
109. Multi Container PODS


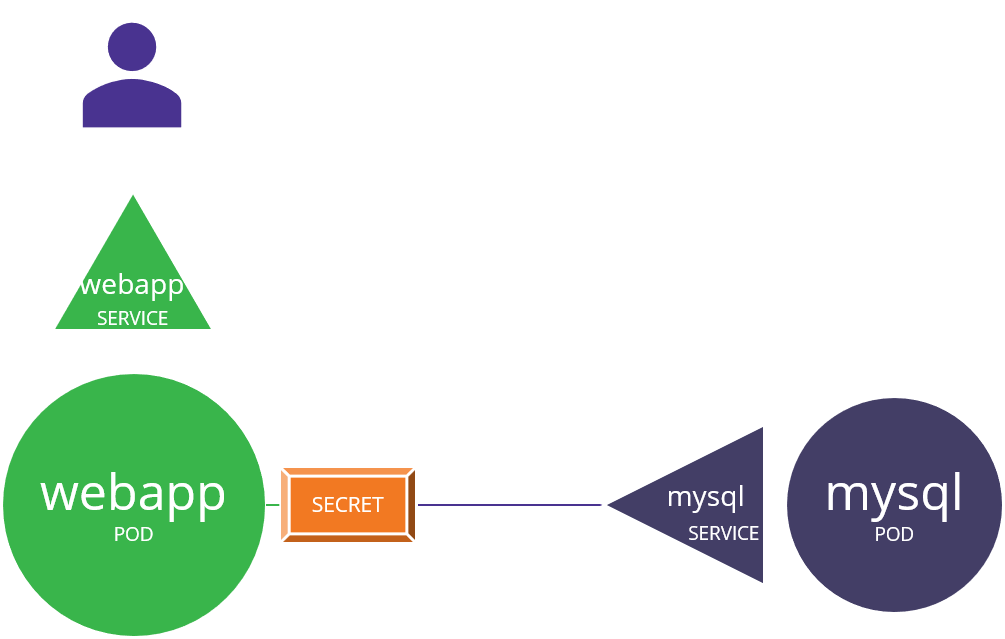
msa 를 활용함으로써 service를 확대, 축소가 용이해졌다.

두가지 서비스가 같이 연동되어야하는 경우가 있다.

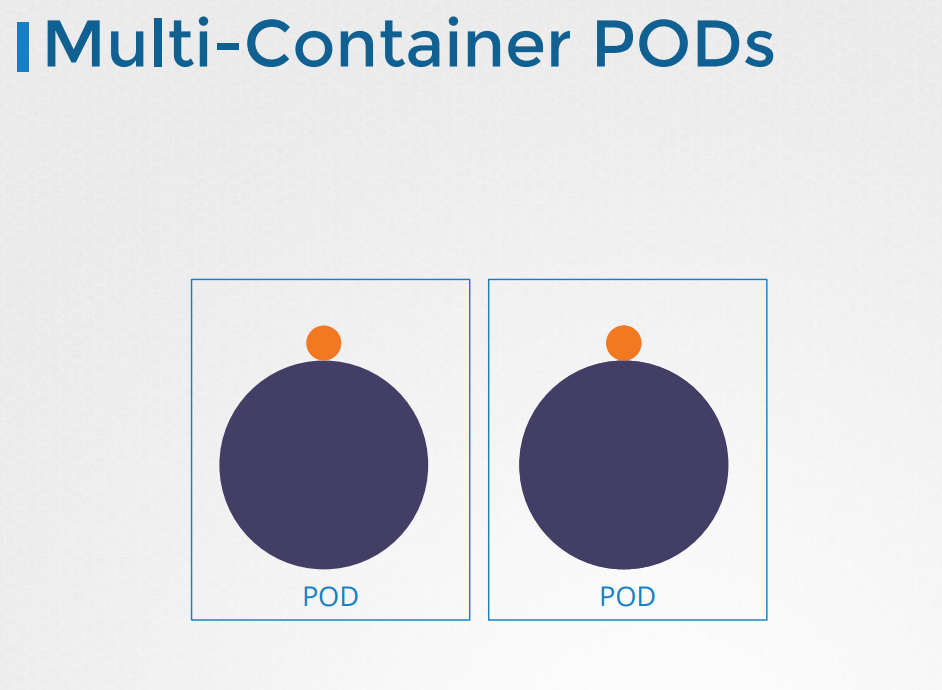


containers 에 하나 더 추가하면된다.
110. Practice Test - Multi Container PODs
1.
Identify the number of containers created in the red pod.

2.
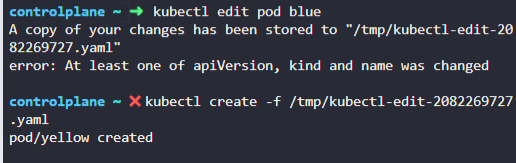
Identify the name of the containers running in the blue pod.

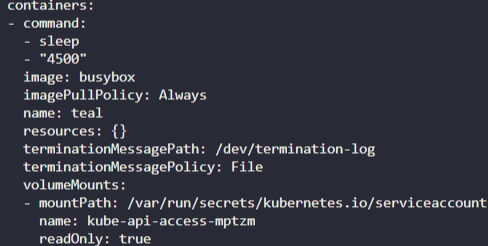

3.
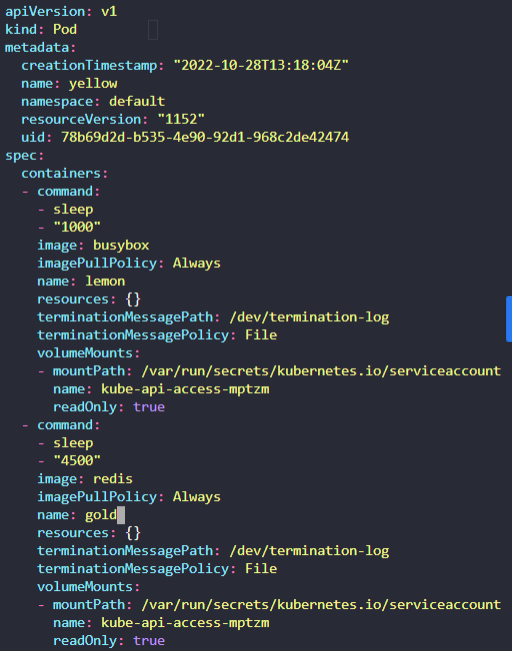
Create a multi-container pod with 2 containers. Use the spec given below.
If the pod goes into the crashloopbackoff then add the command sleep 1000 in the lemon container.
-
Name: yellow
-
Container 1 Name: lemon
-
Container 1 Image: busybox
-
Container 2 Name: gold
-
Container 2 Image: redis
4.
We have deployed an application logging stack in the elastic-stack namespace. Inspect it.
Before proceeding with the next set of questions, please wait for all the pods in the elastic-stack namespace to be ready. This can take a few minutes.


5.
Once the pod is in a ready state, inspect the Kibana UI using the link above your terminal. There shouldn't be any logs for now.
We will configure a sidecar container for the application to send logs to Elastic Search.
NOTE: It can take a couple of minutes for the Kibana UI to be ready after the Kibana pod is ready.
You can inspect the Kibana logs by running:
kubectl -n elastic-stack logs kibana
6.
Inspect the app pod and identify the number of containers in it.
It is deployed in the elastic-stack namespace.

7.
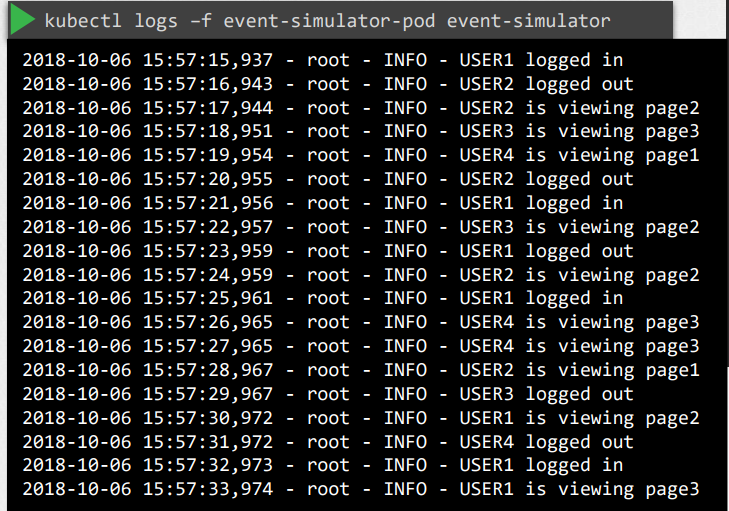
The application outputs logs to the file /log/app.log. View the logs and try to identify the user having issues with Login.
Inspect the log file inside the pod.
kubectl logs -f app

8.
Edit the pod to add a sidecar container to send logs to Elastic Search. Mount the log volume to the sidecar container.
Only add a new container. Do not modify anything else. Use the spec provided below.
Note: State persistence concepts are discussed in detail later in this course. For now please make use of the below documentation link for updating the concerning pod.
-
Name: app
-
Container Name: sidecar
-
Container Image: kodekloud/filebeat-configured
-
Volume Mount: log-volume
-
Mount Path: /var/log/event-simulator/
-
Existing Container Name: app
-
Existing Container Image: kodekloud/event-simulator

사이드카를 구성해야한다.


9.
Inspect the Kibana UI. You should now see logs appearing in the Discover section.
You might have to wait for a couple of minutes for the logs to populate. You might have to create an index pattern to list the logs. If not sure check this video: https://bit.ly/2EXYdHf

112. Multi-container PODs Design Patterns
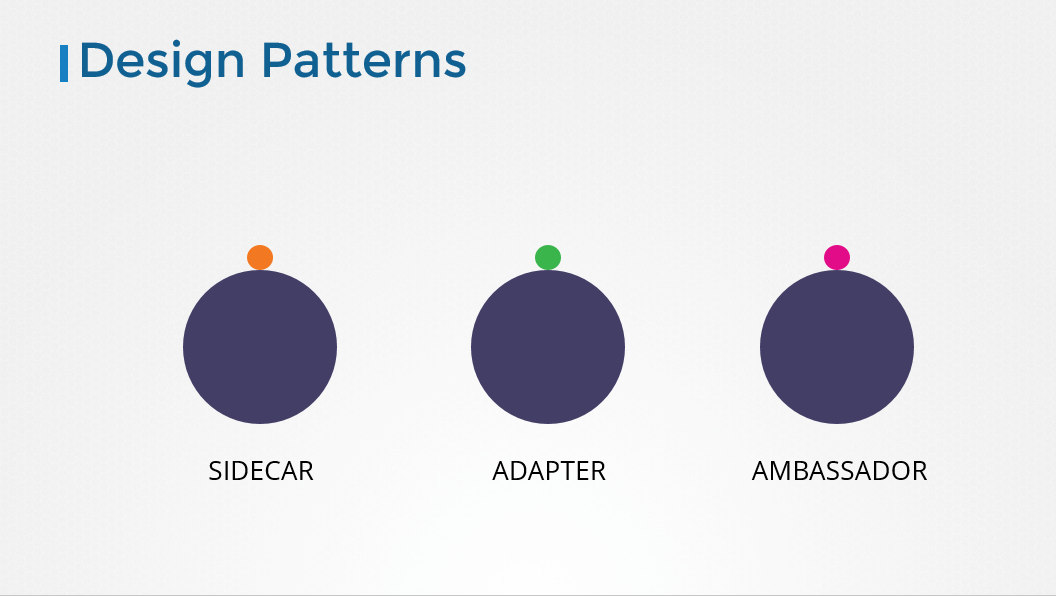
There are 3 common patterns, when it comes to designing multi-container PODs. The first and what we just saw with the logging service example is known as a side car pattern. The others are the adapter and the ambassador pattern.
But these fall under the CKAD curriculum and are not required for the CKA exam. So we will be discuss these in more detail in the CKAD course.
113. InitContainers
In a multi-container pod, each container is expected to run a process that stays alive as long as the POD's lifecycle. For example in the multi-container pod that we talked about earlier that has a web application and logging agent, both the containers are expected to stay alive at all times. The process running in the log agent container is expected to stay alive as long as the web application is running. If any of them fails, the POD restarts.
But at times you may want to run a process that runs to completion in a container. For example a process that pulls a code or binary from a repository that will be used by the main web application. That is a task that will be run only one time when the pod is first created. Or a process that waits for an external service or database to be up before the actual application starts. That's where initContainers comes in.
초기 실행시 한번에 실행되게 하는 것
An initContainer is configured in a pod like all other containers, except that it is specified inside a initContainers section, like this:
apiVersion: v1
kind: Pod
metadata:
  name: myapp-pod
  labels:
    app: myapp
spec:
  containers:
  - name: myapp-container
    image: busybox:1.28
    command: ['sh', '-c', 'echo The app is running! && sleep 3600']
  initContainers:
  - name: init-myservice
    image: busybox
    command: ['sh', '-c', 'git clone <some-repository-that-will-be-used-by-application> ; done;']
When a POD is first created the initContainer is run, and the process in the initContainer must run to a completion before the real container hosting the application starts.
You can configure multiple such initContainers as well, like how we did for multi-pod containers. In that case each init container is run one at a time in sequential order.
If any of the initContainers fail to complete, Kubernetes restarts the Pod repeatedly until the Init Container succeeds.
apiVersion: v1
kind: Pod
metadata:
  name: myapp-pod
  labels:
    app: myapp
spec:
  containers:
  - name: myapp-container
    image: busybox:1.28
    command: ['sh', '-c', 'echo The app is running! && sleep 3600']
  initContainers:
  - name: init-myservice
    image: busybox:1.28
    command: ['sh', '-c', 'until nslookup myservice; do echo waiting for myservice; sleep 2; done;']
  - name: init-mydb
    image: busybox:1.28
    command: ['sh', '-c', 'until nslookup mydb; do echo waiting for mydb; sleep 2; done;']
Read more about initContainers here. And try out the upcoming practice test.
https://kubernetes.io/docs/concepts/workloads/pods/init-containers/
initContainer 가 실패한다면 될때까지 pod를 재생산한다 .
114. Practice Test - Init Containers
1.
Identify the pod that has an initContainer configured.

init container 섹션을 가지고 있음.
2.
What is the image used by the initContainer on the blue pod?
busybox
3.
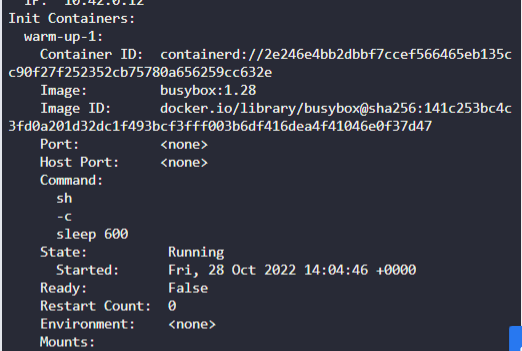
What is the state of the initContainer on pod blue?

4.
Why is the initContainer terminated? What is the reason?
5.
We just created a new app named purple. How many initContainers does it have?

6.
What is the state of the POD?

7.
How long after the creation of the POD will the application come up and be available to users?

8.
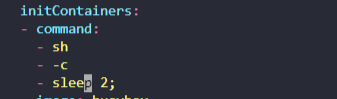
Update the pod red to use an initContainer that uses the busybox image and sleeps for 20 seconds
Delete and re-create the pod if necessary. But make sure no other configurations change.
-
Pod: red
-
initContainer Configured Correctly


9.
A new application orange is deployed. There is something wrong with it. Identify and fix the issue.
Once fixed, wait for the application to run before checking solution.

116. Self Healing Applications
Kubernetes supports self-healing applications through ReplicaSets and Replication Controllers. The replication controller helps in ensuring that a POD is re-created automatically when the application within the POD crashes. It helps in ensuring enough replicas of the application are running at all times.
Kubernetes provides additional support to check the health of applications running within PODs and take necessary actions through Liveness and Readiness Probes. However these are not required for the CKA exam and as such they are not covered here. These are topics for the Certified Kubernetes Application Developers (CKAD) exam and are covered in the CKAD course.